Last updated on November 8th, 2024 at 12:54 pm
A comprehensive guide featuring sequential instructions accompanied by screenshots for the installation of XAMPP. This includes the configuration of Apache, MySQL, and Tomcat as services, as well as troubleshooting common service errors and their resolutions.
Prerequisite: Go to XAMPP, Download the XAMPP software first. The latest version of XAMPP available at the time of writing this post is xampp-windows-x64-8.1.6-0-VS16
We are going to walk through step by step instruction on
XAMPP Installation
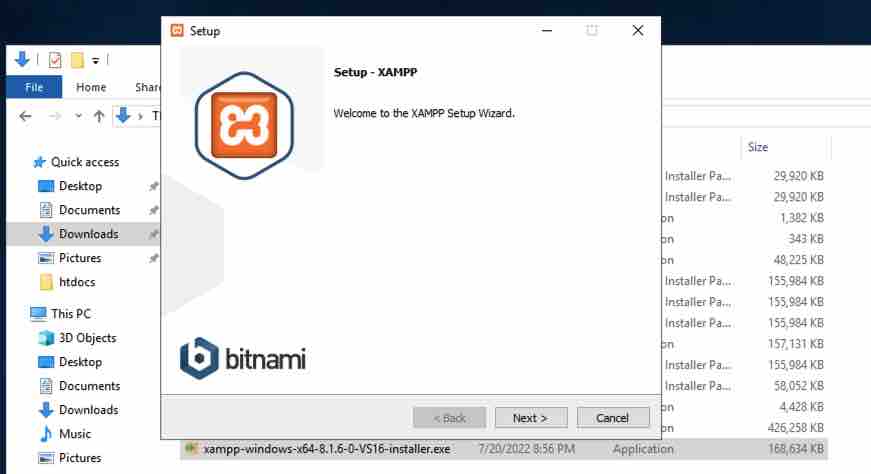
- Run the installer. As you can see from the screen below I downloaded the xampp-windows-x64-8.1.6-0-VS16.exe file.

- Click Next > and it will show you the component list
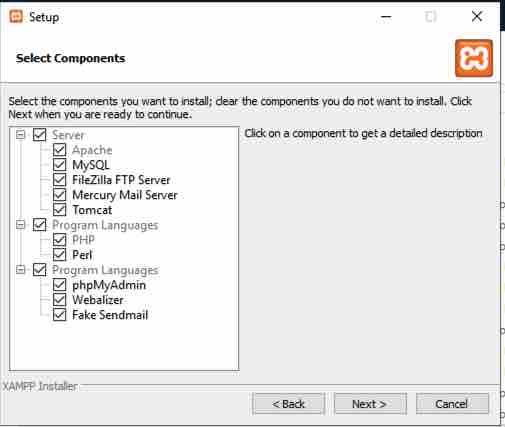
- Select the Servers / Program Languages as per your requirement. In this case I am leaving everything as checked (default). Click Next>
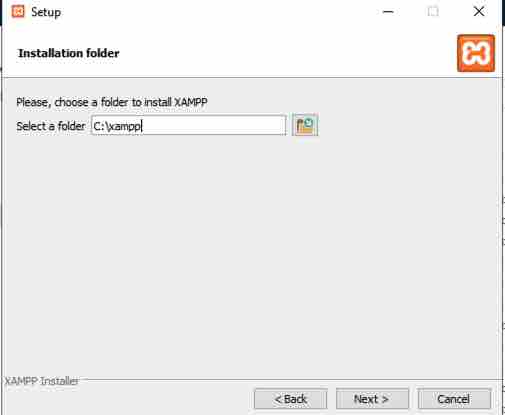
- In this page it will ask you for the location where you need the softwares to be installed. I am leaving it as default. Click Next>
- Next 2 windows will be to select the Language you prefer and you will also have an option to look in to Bitnami for XAMPP documentation that can install Joomla / WordPress etc., (This screen/option during installation could be different in other XAMPP versions). Choose accordingly.
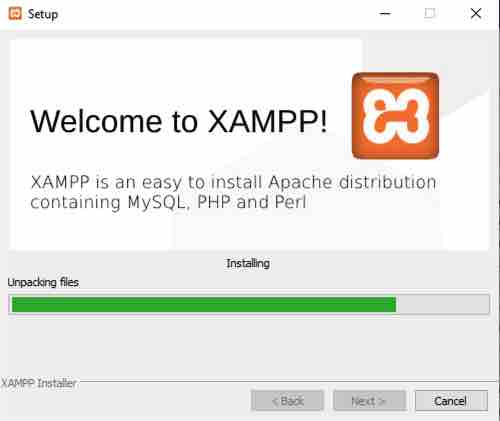
- Once you are done with the above, the last screen will initiate the installation and will look like below
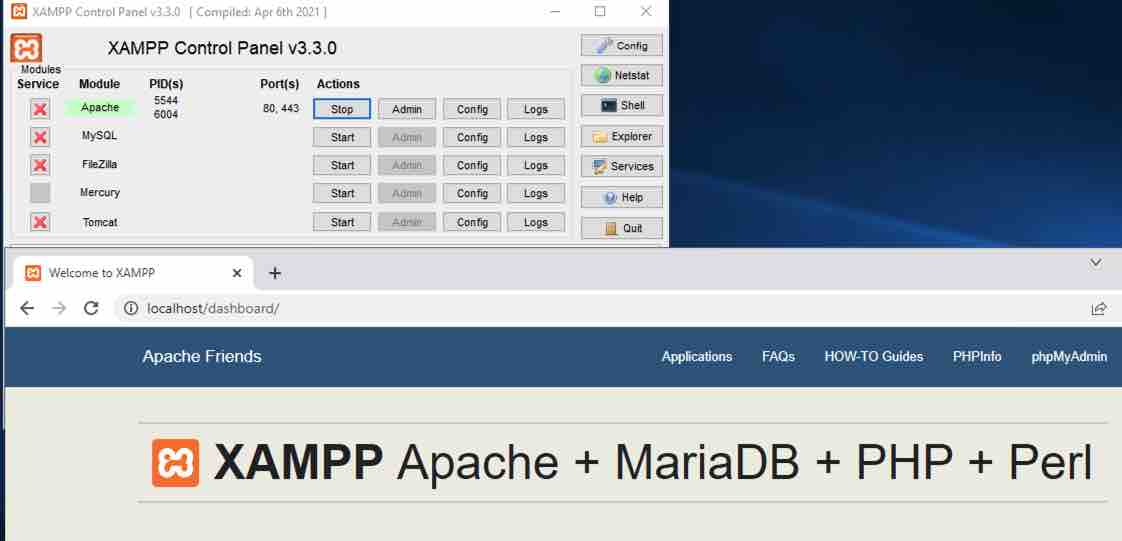
- Upon completion of installation, when you click Finish, the XAMPP Control Panel will open.
Final step is to Start Apache / MySQL or any components of your choice by clicking on the “Start” buttons next to each item. If prompted by Windows Firewall, click the button labelled “Unblock” and you should be able to load the XAMPP HomePage by typing http://localhost
If you are directed to a page with the XAMPP logo, your installation was successful.
Main Configuration Files We Use In XAMPP
| Type | Location |
|---|---|
| Apache configuration | C:\xampp\apache\conf\httpd.conf,C:\xampp\apache\conf\extra*.conf |
| Apache logs | C:\xampp\apache\logs\access.log,C:\xampp\apache\logs\error.log |
| PHP configuration | C:\xampp\php\php.ini |
| MySQL configuration | C:\xampp\mysql\bin\my.cnf |
Start Apache / MySQL / Tomcat as a service in XAMPP
Add Apache / MySQL or Tomcat as a service so that every time when the server reboots or stop/start you don’t have to start these services manually. If you don’t choose this option, you will need to use the XAMPP Control Panel application to start the servers individually each time you need them. This may be desirable if you don’t intend to use your servers that often.
Go to each component install location
Apache : C:\xampp\apache\
MySQL : C:\xampp\mysql\
Tomcat : C:\xampp\tomcat\
There will be a file with the .bat extension with similar naming convention <COMPONENT_NAME>_installservice.bat
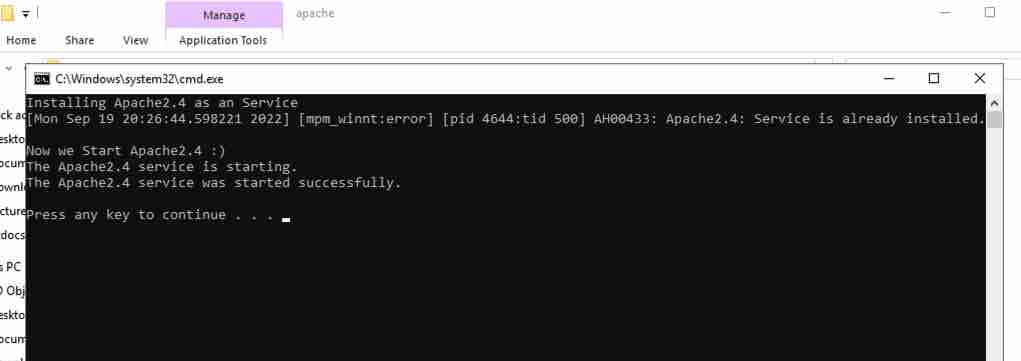
Apache : apache_installservice.bat
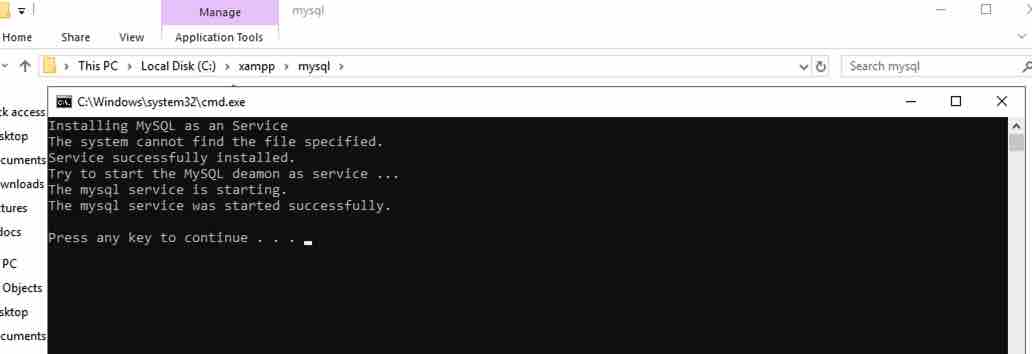
MySQL : mysql_installservice.bat
Tomcat : tomcat_installservice.bat
Execute those files and you are all set, I have executed this script for Apache and MySQL for your reference.
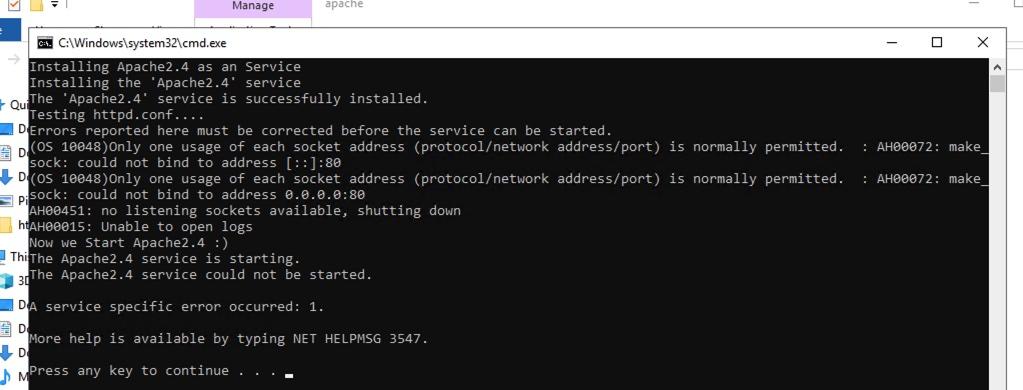
Common Error
You may face similar error if you configure Apache as a service while Apache is running. Make sure to stop Apache before executing the apache_installservice.bat script .