Learn how to automate your Elastic Beanstalk deployments using AWS Code Pipeline. Simplify your process and enhance your development workflow effortlessly!
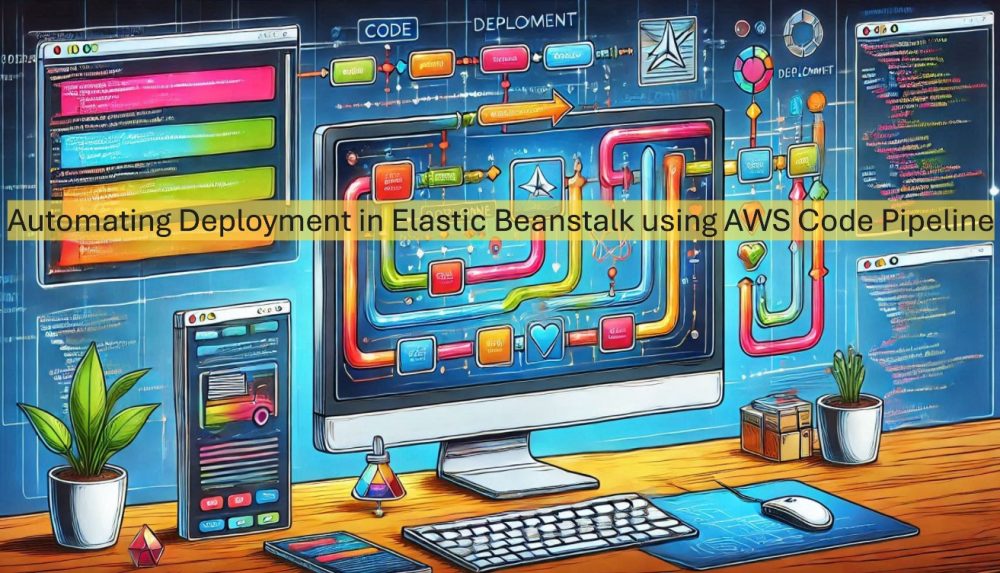
What is AWS CodePipeline?
AWS CodePipeline is a service dedicated to continuous delivery, allowing users to create, visualize, and automate the essential steps involved in releasing software. It facilitates the swift modeling and configuration of the different phases of the software release process. Through CodePipeline, the steps necessary for the continuous deployment of software changes are automated.
Services Used In this Tutorial
- AWS Code Pipeline
- Elastic Beanstalk – We assume that you already have a simple Beanstalk environment created. If not please follow these steps.
Create Pipeline
The process of creating a Pipeline begins with the establishment of a Source and Build Stage, which is subsequently followed by a Deploy stage.
Step 1: Select “Build custom pipeline”

Step 2: Select the settings, Give some name for the pipeline and the Execution mode I selected is “Queued” – More details can be found here

Step 3: In this step I am selecting GitHub as the source provider and during that process it will ask us to login to GitHub for creating a connection. Once that is successful you will be able to select your Repository name and also the branch.
In my Github repo I have a sample index.html file.

Step 4: This is the build stage, for the sake of this tutorial I am just adding some test commands for my build process but in reality you can configure custom build scripts accordingly. Once done click Next

Step 5: Last and the final step is the deploy stage. Here you can define where you want to deploy your code that we selected in the Source stage (GitHub repository).
I am using Elastic Beanstalk as my deploy provider. As you can see the environment name it popped up is the same Beanstalk environment we created earlier.

Once done, Step 6 is just to review all we have configured and then create the pipeline.
Trigger CodePipeline
As you are aware we have already configured Github repo with the CodePipeline. I have a simple index.html file in my repo as shown

I am going to modify the index.html file to include a background color, this will trigger our pipeline to deploy updated website to Elastic Beanstalk.
I added “Yellow” as the background color and pushed the changes to git.
In parallel we can see that the pipeline gets triggered and eventually the updated code gets deployed

Eventually it gets build and deployed

Next step is to hit the Domain name of your Elastic Beanstalk to confirm the changes

Awesome we just created an end to end CI / CD automation using AWS Code Pipeline and Github
Configure Elastic Beanstalk
Lets configure a web server environment and deploy a build in sample application. The platform in which application is PHP. Its pretty straightforward to create an Elastic Beanstalk environment.
In “Step 1” of launching Beanstalk, I selected all default options as shown.
Environment selected is “Web Server” and PHP is the Platform. Configuration is “Single Instance(free tier eligible)

In “Step 2” you can add your EC2 instance key pair if necessary. Use this if you would like to login to the instance at a later stage.
Step 3 – 5 are optional, but in Step 4 I have selected GP3 as the root volume, this is done to direct Elastic Beanstalk to create an environment with a launch template. If at least one these options quoted below is not set, the environment creation will fail.
New accounts will need to set at least one the following options – RootVolumeType / BlockDeviceMappings / DisableIMDSv1 / EnableSpot in order to successfully create a new environment.
More details can be found here in AWS Documentation.

That is all, once Step 6 – Review is done, go ahead and deploy your Beanstalk environment.

When the Environment health is “OK” you are all set to try the domain. As you can see in the above screenshot Health is still “Unknown” hence you don’t have a Domain name to try yet.
Give it a couple of minutes and keep an eye on the “Events” tab, you should see a message similar to “Environment health has transitioned from Severe to Ok“. After that click on the Domain name that it creates.
By default, your environment is available in this format Your_region.elasticbeanstalk.com.

If you see similar page as shown then congratulations, you are now running PHP application on AWS Elastic Beanstalk environment.
