Last updated on November 9th, 2024 at 05:47 pm
In this tutorial I will walk through on how to install cacti network monitoring tool on linux, Redhat Linux 7 Maipo / CentOS 7 systems. This is very simple and straight forward. All you have to do is make sure that the required software’s are installed. I will also guide you through a couple of errors I have seen while performing the installation.(In a different post)
NOTE:- Please install Apache before moving forward.(yum install httpd)
Step 1
——-
Download Cacti, I downloaded it from Cacti website. You can also do the same from HERE
Version of Cacti I am using here is 0.8.8b which is a stable version. Make sure you download stable version of cacti.
Change directory to /var/www/html location. I used wget command to directly download the packageto my Linux machine
Step 2
——-
Gunzip and Untar the package accordingly (depending on the file downloaded) in your /var/www/html location and you will see the list of files in the directory.
I am renaming the folder which got created by default after extracting the TAR file to cacti.
Step 3
——-
If you don’t have the below software’s installed please use YUM to install them
yum install net-snmp net-snmp-utils rrdtool
yum install php-snmp
yum install php-mysql php-pear php-common php-gd php-devel php php-mbstring mysql
TIP: Above packages might also come with version number added along with their name, for example php7.0-mysql, php7.0-gd etc., make sure you install them accordingly.
For Centos 7, verify / download package from https://centos.pkgs.org/7/centos-x86_64/
For RHEL 7 (RedHat) get the package list in repos from https://access.redhat.com/documentation/en-us/red_hat_enterprise_linux/7/html/package_manifest/index
Step 4
——-
Configure the database, Create MYSQL Database & User for cacti, Grant all privileges.
mysql> CREATE DATABASE cactidb;
Query OK, 1 row affected (0.00 sec)
mysql> CREATE USER 'cactiuser'@'localhost' IDENTIFIED BY 'pwd123';
Query OK, 0 rows affected (0.01 sec)
mysql> GRANT ALL PRIVILEGES ON cactidb.* TO 'cactiuser'@'localhost';
Query OK, 0 rows affected (0.00 sec)
mysql> FLUSH PRIVILEGES;
Query OK, 0 rows affected (0.00 sec)
Edit file /var/www/html/cacti/include/config.php
Change the values according to your Mysql settings
/* make sure these values reflect your actual database/host/user/password */
$database_type = 'mysql';
$database_default = 'cactidb';
$database_hostname = 'localhost';
$database_username = 'cactiuser';
$database_password = 'pwd123';
$database_port = '3306';
$database_ssl = false;
Now upload cacti.sql to the database, Go to /var/www/html/cacti directory and run the command below
[root@localhost cacti]# mysql -u cactiuser -p cactidb < cacti.sql
Enter password:
[root@localhost cacti]#
Step 5
——-
Configure your Apache / HTTP server to load cacti URL for your IP Address ONLY, I am using Apache 2.4 hence there will be slight difference in the configuration. Will not be using the regular ORDER ALLOW, DENY (Apache 2.2)
Edit your configuration (HTTPD.CONF)
<Directory /var/www/html/cacti >
# httpd 2.4 YOUR IP ADDRESS GOES HERE
Require ip xx.xxx.xxx.xx
</Directory>
Step 6
——-
Go to http://<website_name>/cacti and start the installation.
You should see that all these values are correct and in GREEN with string [FOUND] as shown below
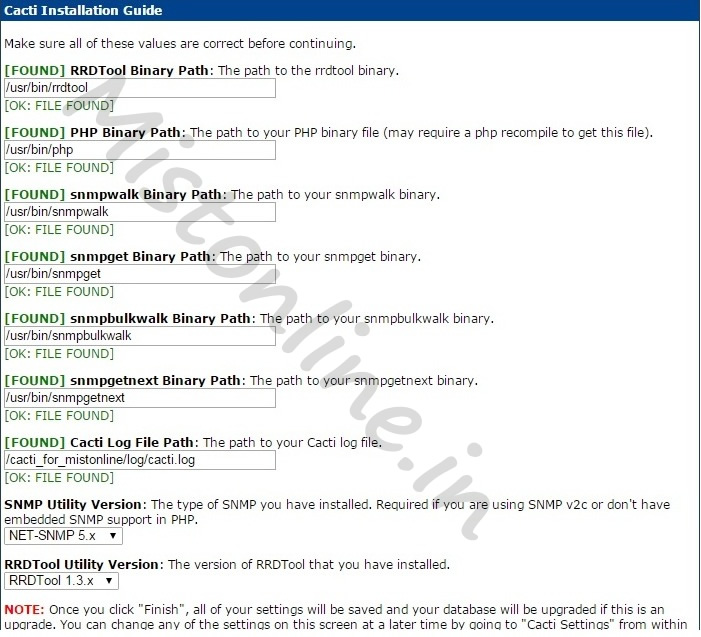
Your screen values might be different. Don’t worry about that.
Once you verified the values, Click FINISH.
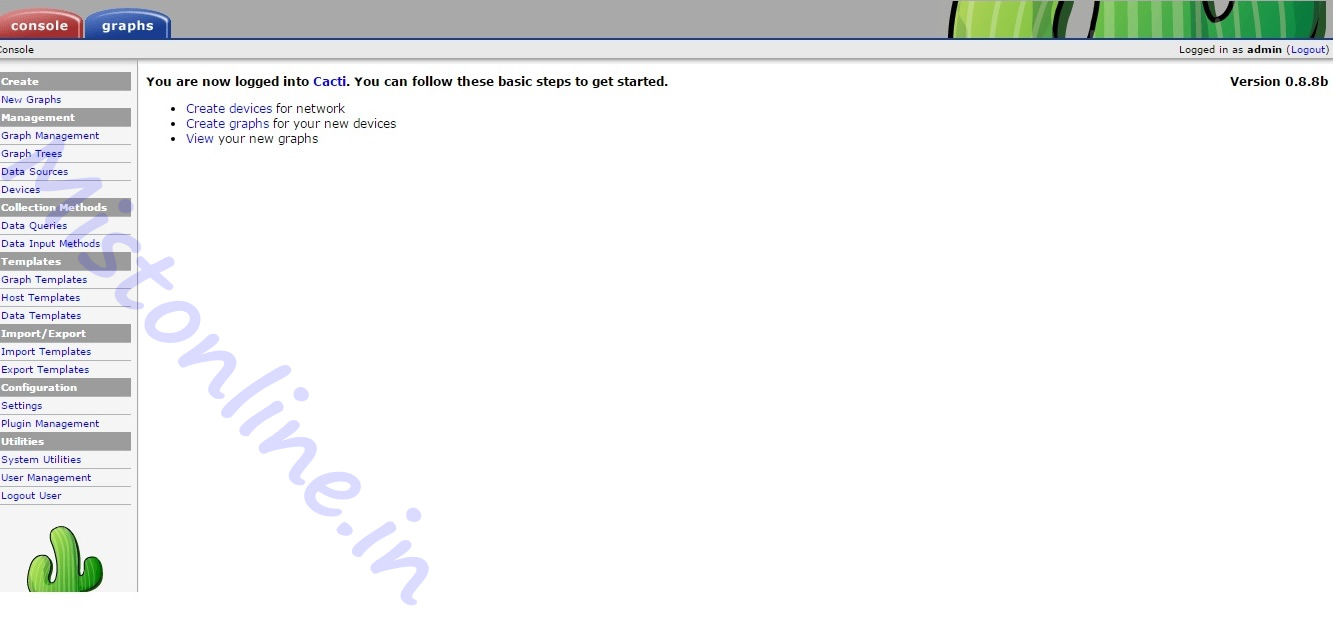
After this you will see an authentication page use admin / admin as username and password. Then you will get an option to create a new password. That is all. You are all set and you will see a home page like the one below.